
Drag & Drop
How to set up the Elgato Cam Link Pro capture card?
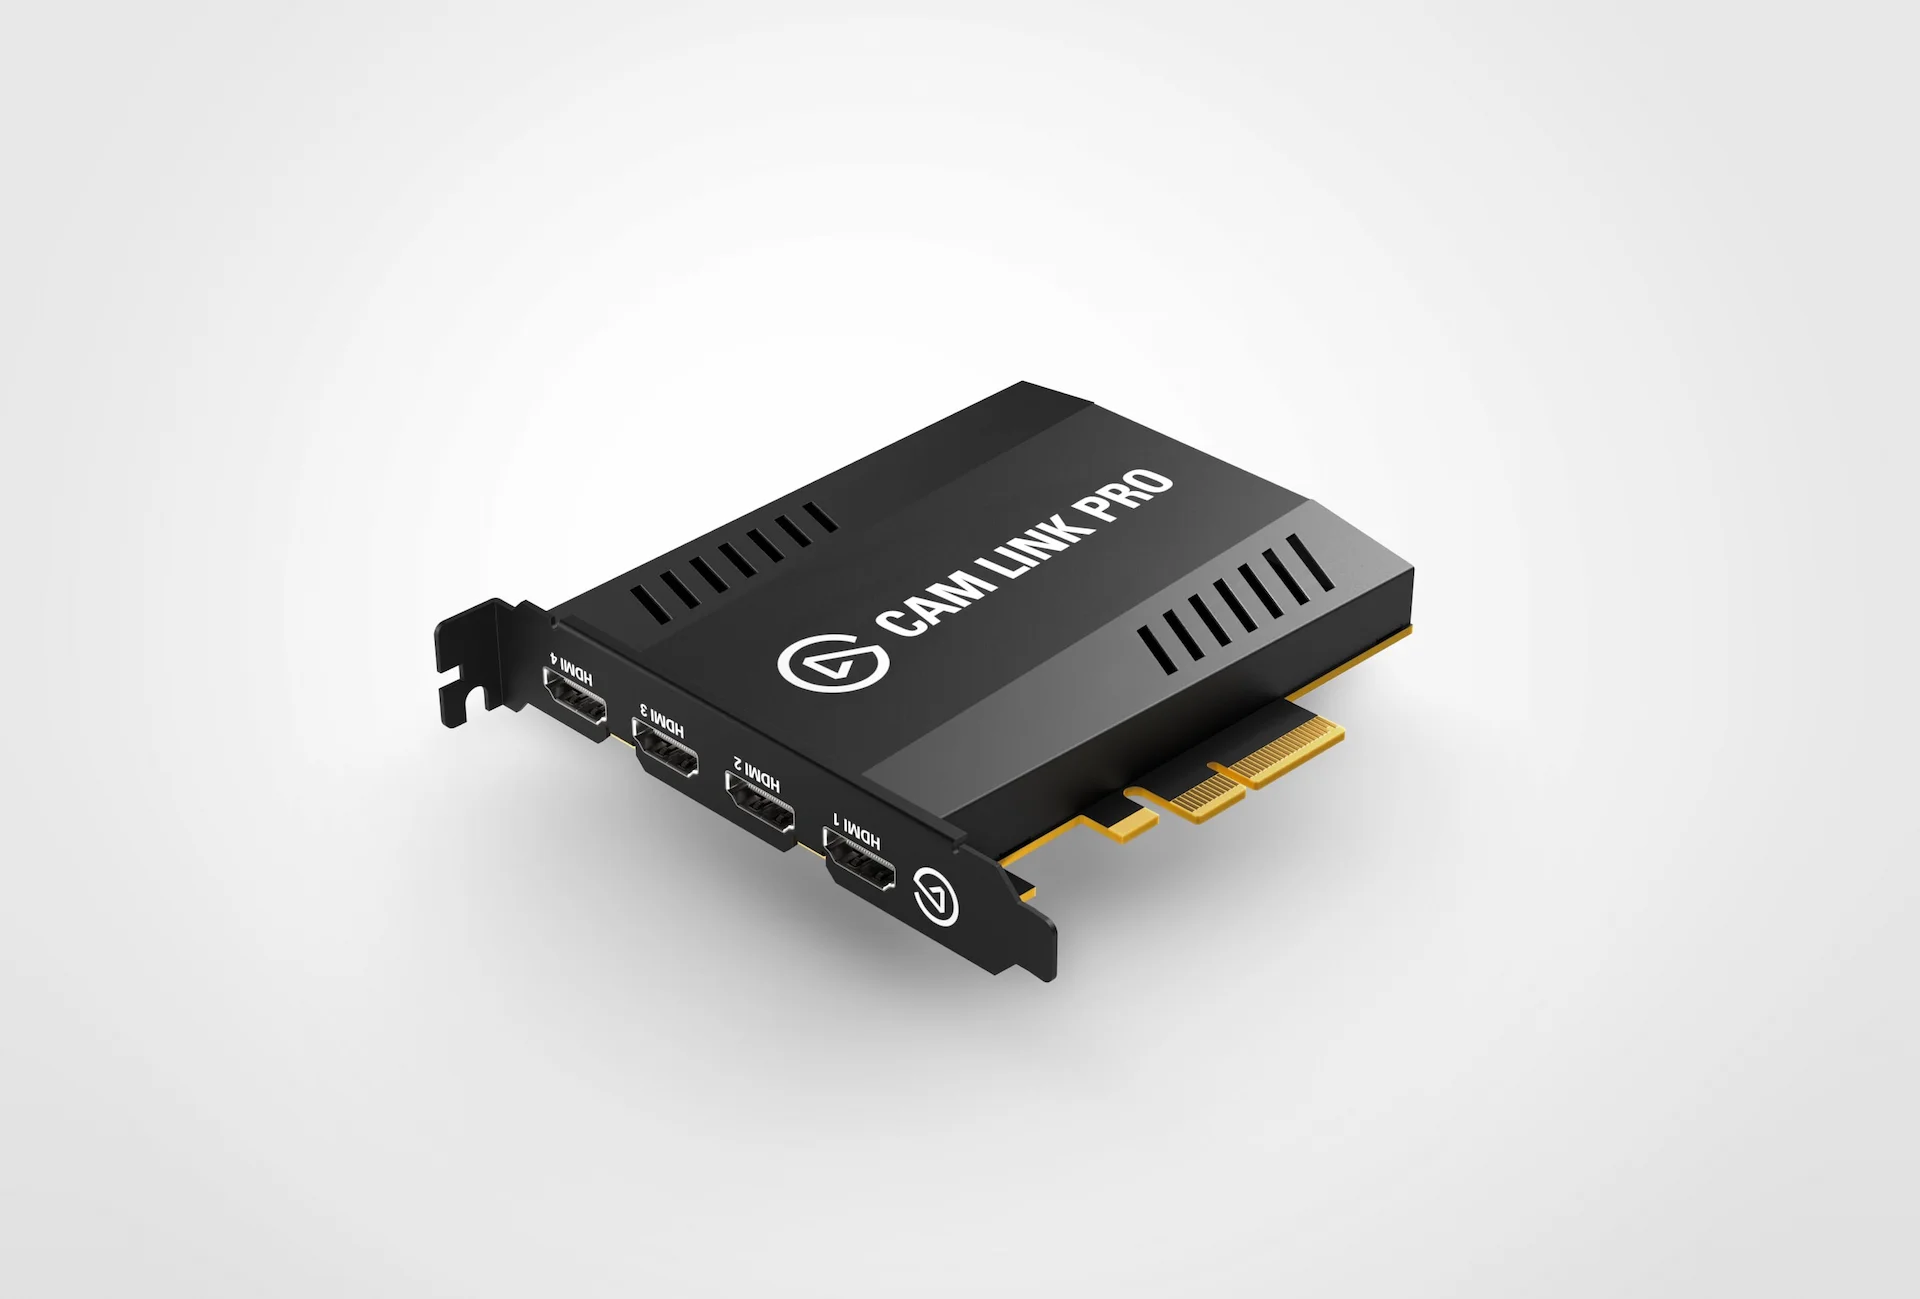
The Elgato Cam Link Pro capture card lets you bring in several HDMI video streams, up to 4K resolution, to display them in Easy Multi Display. Here is how to prepare it properly before using it with the software.
Hardware requirements
The Cam Link Pro requires significant processing power. Here is the recommended minimum configuration:
- Processor: Intel Core i7 (6th generation or newer) or AMD Ryzen 7
- PCIe slot: the Cam Link Pro requires a PCIe x4, x8 or x16 port to work optimally
This configuration allows the capture and encoding of high-definition video, with several HDMI streams reaching up to 4K resolution.
Step 1: establish the connection
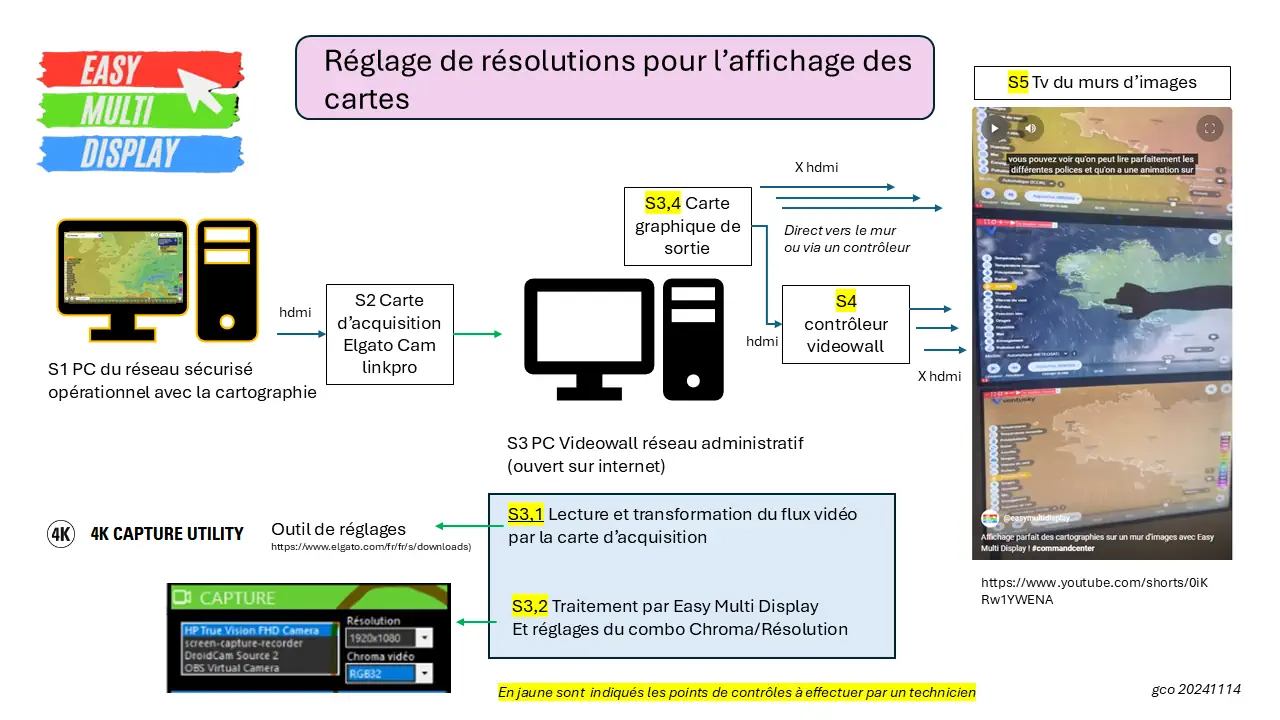
Install the 4K CAPTURE UTILITY software on the computer connected to the Elgato device. The software is available at elgato.com/en/downloads. Launch it after installation to check that the connection is correct.
Step 2: check the capture PC display
Make sure the capture PC appears correctly in the software interface. If the PC is not visible, or if display issues occur (inverted colors, poor quality), do not configure EMD or Drag&Drop yet. First fix the problem at the Elgato software level.
Step 3: connect the HDMI cable correctly
Plug the HDMI cable into the graphics card output, not the motherboard output. The integrated graphics are often too weak or unsuitable for capture. Use good-quality HDMI cables that are as short as possible.
Step 4: adjust the video output
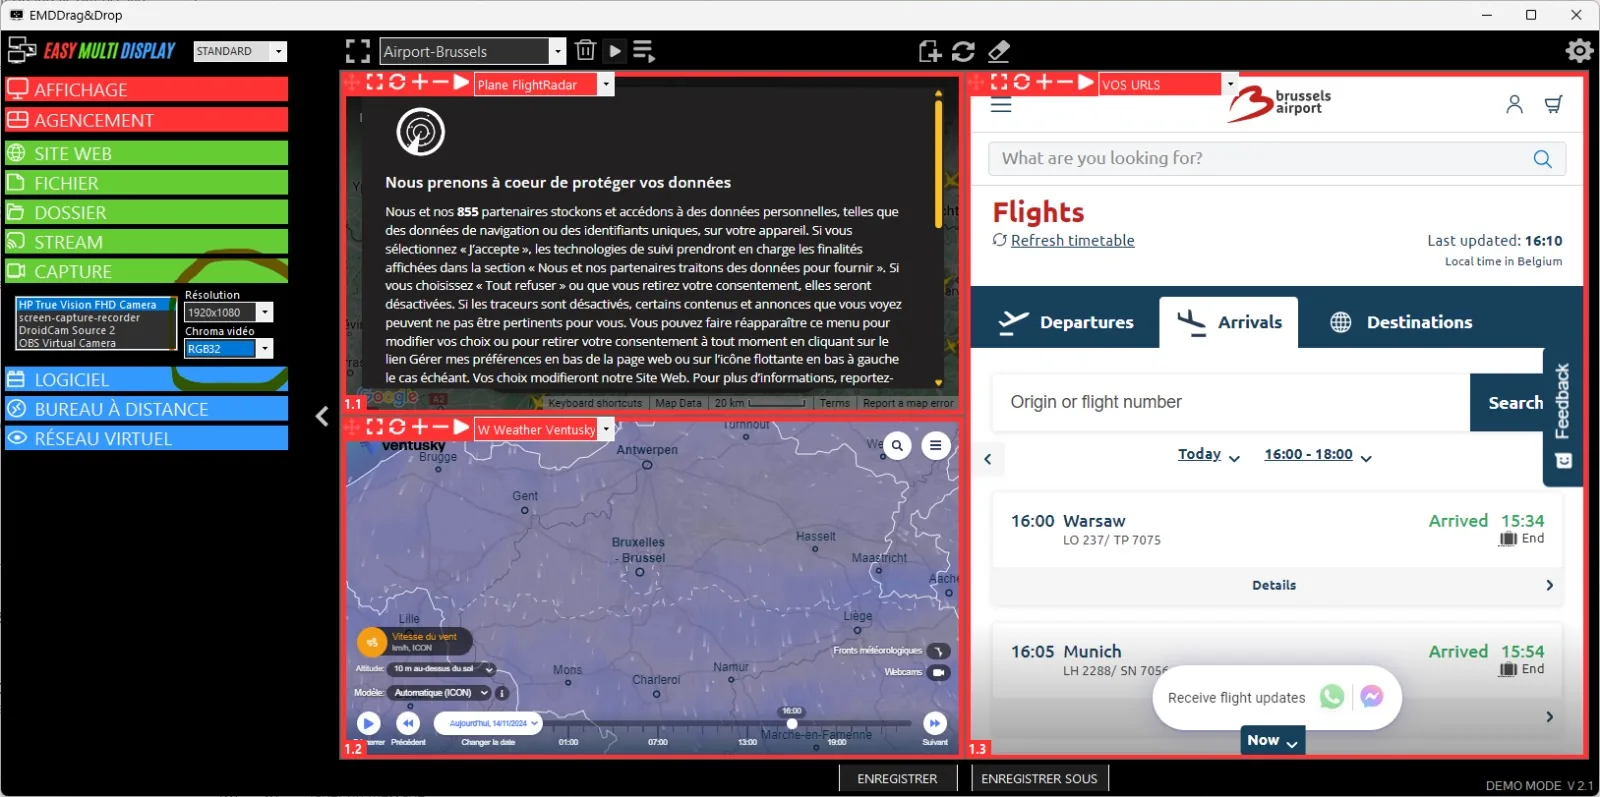
Match the output resolution to the input resolution shown in the 4K CAPTURE UTILITY software. Adjust the video chroma format if needed: the RGB32 mode is ideal in this case.
Once these checks are done and the image is correct in the Elgato software, you can configure the capture source in Easy Multi Display and display it on your video wall.